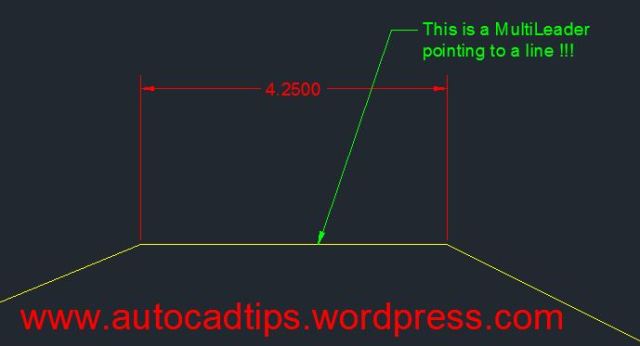
I was reading my company standards and came across an outdated-yet-common method of modifying multileader objects for clarity. The process is to explode the multileader and then trim the leader line where it crosses dimensions so as to not be confused as an object line or a part of the dimension.
Don’t explode!!! you can add a “dimension break” to multileader objects. The DIMBREAK command also works for MLeaders – it does not work on the older Leader or QLeader objects…
Click here to learn how to apply a DIMBREAK to dimensions.
Click Here to learn how to remove DIMBREAKS from objects.
Here’s how:
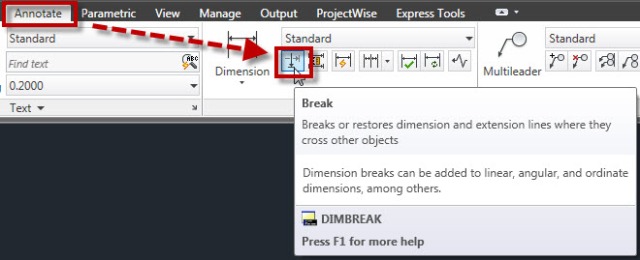
- Click the “Break” tool that is located on the “Annotate” tab > “Dimensions” panel
OR
- DIMBREAK <enter> to start
- Select the Multileader to which you want the dimbreak applied.
- Select the dimension that crosses the multileader. the intersection where these 2 objects meet is where the break will be applied.
Note: Multiple breaks can be applied to a single leader.


Pingback: Remove Dimbreaks From Objects | AutoCAD Tips
It will work 1/2 the time and then suddenly decided that it cant/wont break anymore. Why!?